How to Create an Add-on Products Bundle (Cart Transform)?
What is an Add-on Products Bundle? 🤔
The Add-on Products Bundle is a feature provided by Rebolt, a popular app on the Shopify App Store. This feature allows merchants to offer additional products as add-ons to their main products. For example, if a customer is buying a camera, they might be offered a bundle that includes a camera case, memory card, and extra batteries as add-ons. This can help increase the average order value for merchants by encouraging customers to purchase complementary products along with their main purchase.
Key Features:
- One-Click Sales on Product Pages.
- Include Variants in the Add-on Products Bundle.
- Provide Percentages or Fixed Discounts.
- Set Priority for the Add-on Products Bundle.
- Enable/Disable Add-on Products Anytime.
How to Create Add-on Products Bundle? 👔 or 👕or 👖
Follow these steps to create Add-on Products:
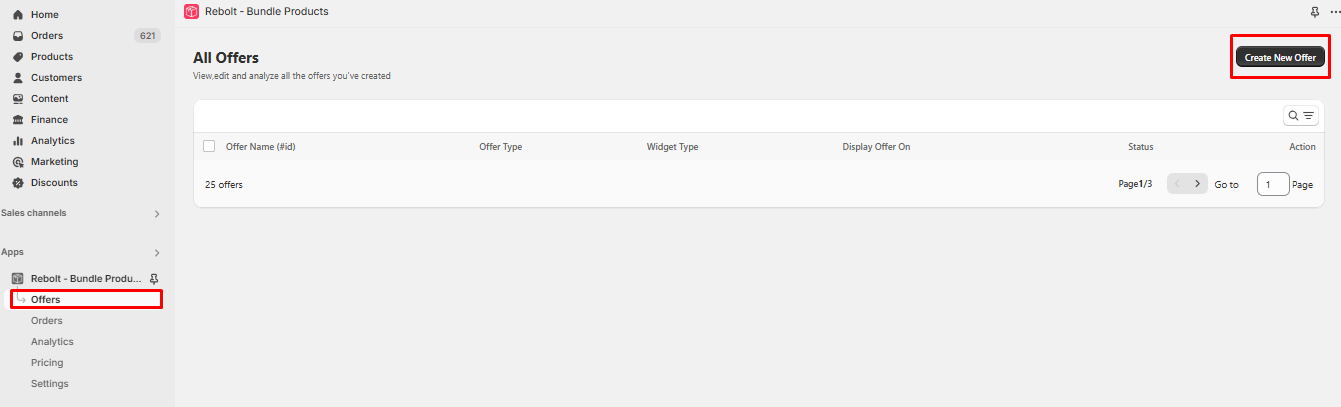
Step 1: Navigate to Offers and click on "Create New Offers."
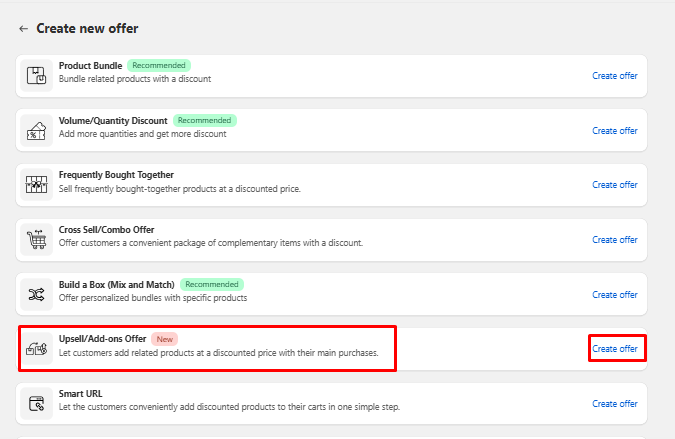
Step 2: Choose "Upsell Add-ons Offer" and then click on "Create Offer".
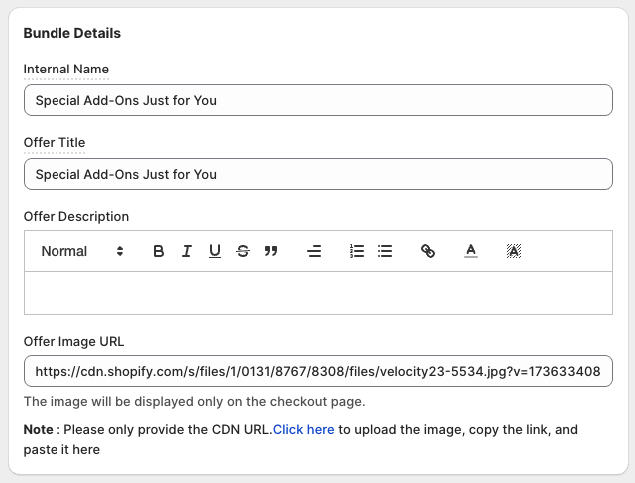
Step 3: Enter the Bundle Details.
Internal Name:- This will appear in the app admin only to identify the bundle.
Offer Name:- This will appear to the customer on the frontend side.
Offer Description:- Add a bundle short description
Offer Image URL:- Add Bundle Product Image (This product will be displayed on the cart page or checkout page)
Note:- Upload an image in the Shopify platform, copy the image URL, and then paste it into the designated image field.
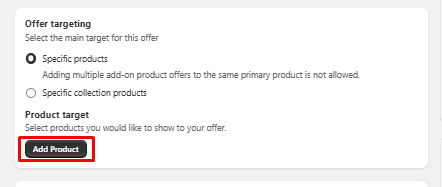
Step 4: Please add the product where you would like to offer targeting.
Select the specific products or collections where you wish to display the add-on product bundle. Then, click on "Add Product" or "Add Collection" to choose the products or collections where you want the add-on product bundle to be showcased.
Note: It is necessary to select the product or collection where you would like the add-on products bundle to be displayed. Please note that adding multiple add-on product bundles to the same primary product is not allowed.
Step 5: Add products for the offer
To add a product, please click on "Add Product" and select the items you wish to include in the add-on products bundle.
Note: Kindly select the products you wish to include in your add-on products.

Step 6: Add discount
Kindly select the type of discount and input the discount value. (For example, we have implemented a 10% discount.)

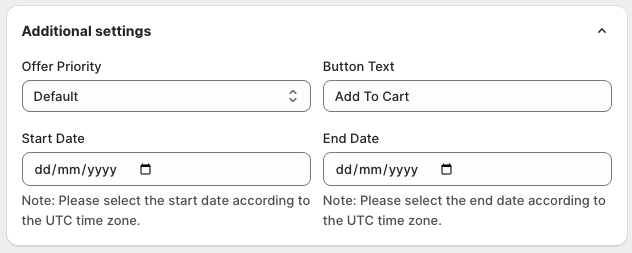
Step 7: Additional settings
Click on the "Additional Settings" option. Here, you have the ability to configure add-on product priority, modify button text, and specify start and end dates. After making the necessary adjustments, click on the "Save" button.
Note: Adjust the Bundle Priority on a scale from 1 to 100. For instance, if you're displaying five bundles on a product page and assigning priorities 1 through 5, the bundle with priority 1 will appear at the top, followed by 2, 3, 4, and finally 5.
Step 8: If you are using Shopify 2.0, please follow the steps below to display the add-on products bundle.
- Go to theme customization
- Select the product.
- On the left-hand side, click on Add block.
- Then click on Apps
- Select Addon Bundle Products
- Place the Addon Bundle Products block above the Add to Cart button
- Click on Save

OR
Step 9: The add-on products bundle can be displayed on your product page using the following shortcode:
Simply copy and paste this shortcode above the Add to Cart button in your theme customization.
<div class="wcpb_ao_section" data-wcpid="{{ product.id }}"></div>
Step 10: Evaluate how the Add-on Products appear on the website by clicking on Actions >> Test button.


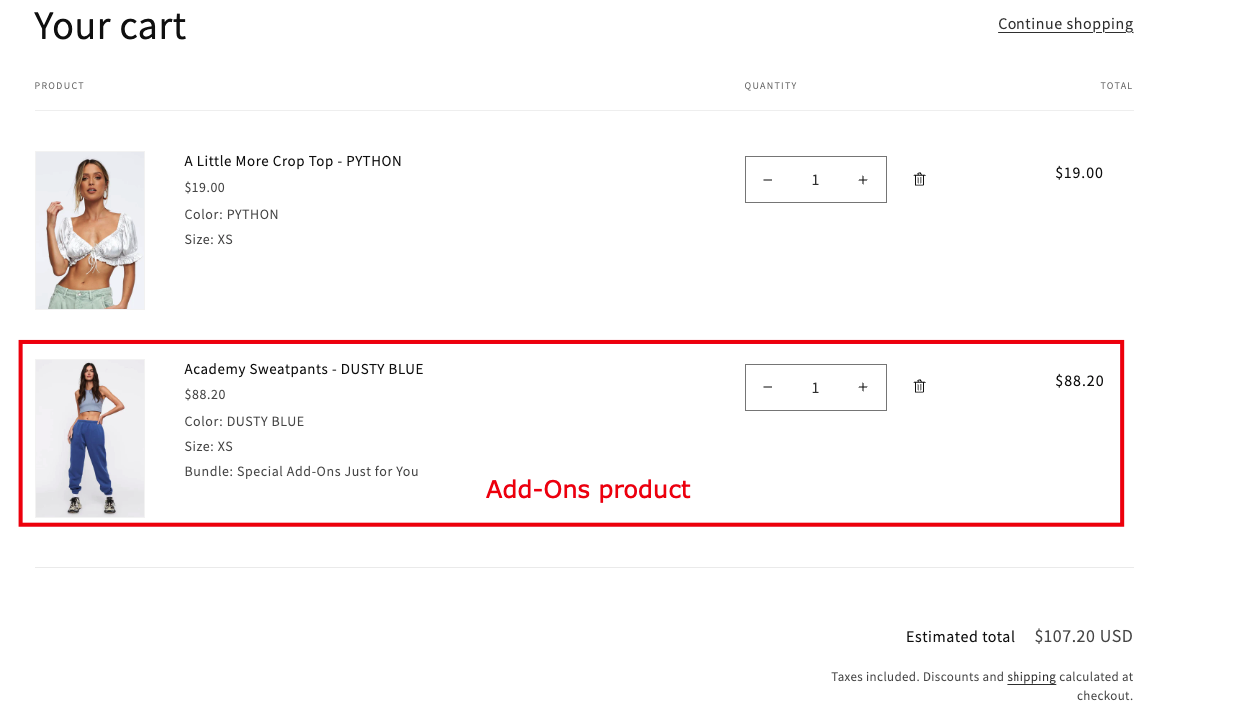
== > How to prevent the Add-on Bundle Product title and Product Image from displaying on the cart page.
Once the Add-on bundle is added to the cart page, it will be displayed as follows: the last product will be shown in the product listing page, the cart page, and the checkout page.

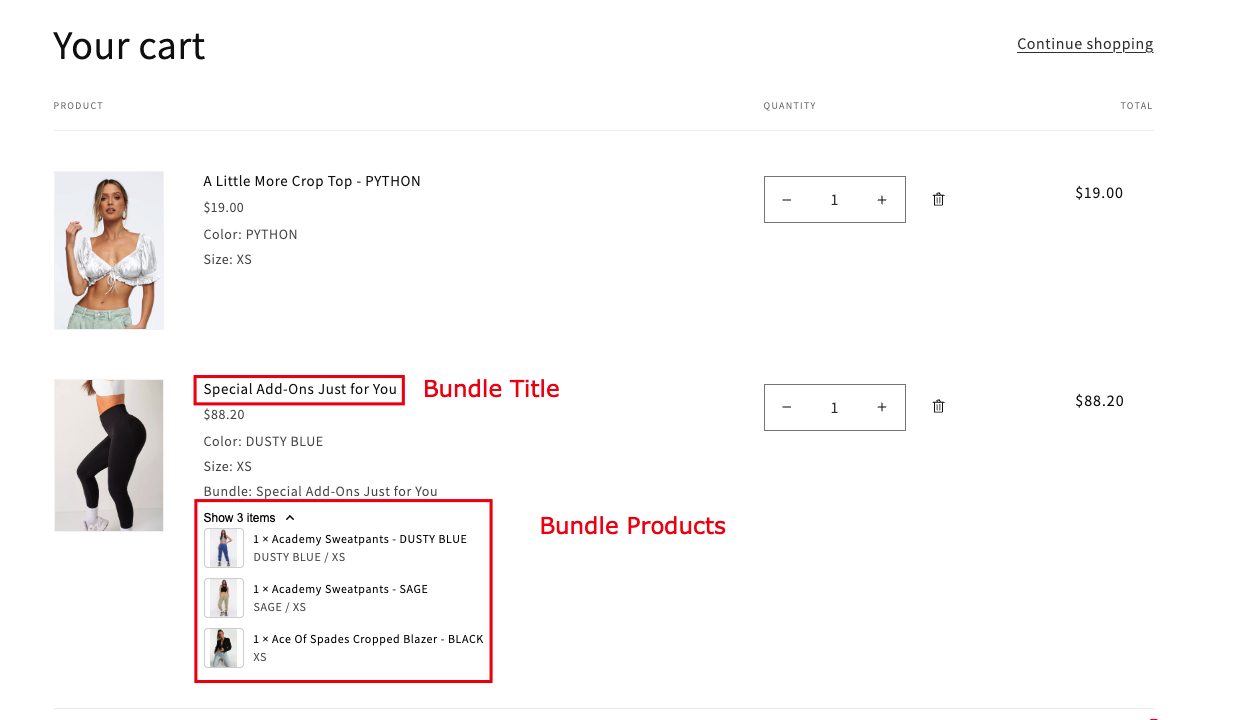
If you wish to include a product listing in the cart page that mirrors the layout of the checkout page, please add the required classes to the theme cart page.
Update Title - rb_item_name
Update Image - rb_item_img
Add Add-on product listing - <div class="rb_cartsub_items"></div>
After incorporating the Claccess and product listing on the cart page, ensure that it is displayed in the same manner as on the checkout page.
If you require any assistance or need to set up an Add-On bundle in the store, please do not hesitate to contact us at support@webcontrive.com. We are here to assist you.